 screenrove
Linear onboarding: separating access, workspace setup and optional steps
A practical reading of our 11-screen Linear onboarding capture, from email verification to workspace setup and optional integrations.
Our Linear research capture follows email signup through verification, workspace creation and several setup prompts. The useful design lesson is the separation between getting access, defining a workspace and connecting outside services. These steps ask different questions, so they deserve different moments in the interface.
This is a desktop observation captured on 20 September 2026 in a disposable research account. Invitations and external integrations were skipped. SAML and magic-link completion were not exercised. Open all 11 captured screens alongside this article.
1. Establish access before asking for setup decisions
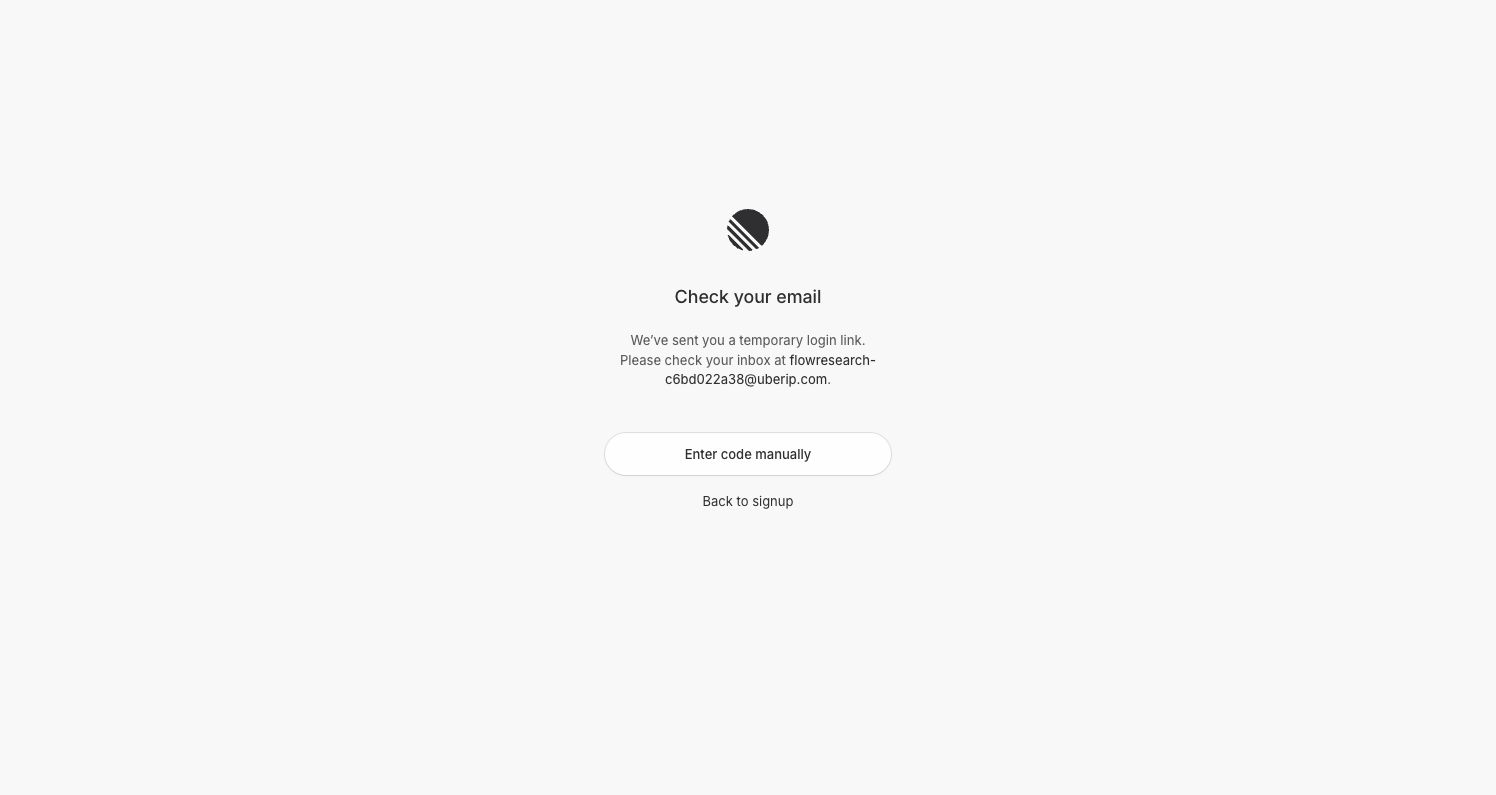
The captured sequence begins with a signup-method screen, then an email-entry screen, a check-your-email message and code entry. Treat these as separate states when mapping the flow. They communicate different things: an available route, submitted information, an external dependency and a way to continue.
If you adapt this pattern, write the waiting state as carefully as the form. Explain which inbox the person should check, how they can correct a mistake and what happens if the message never arrives. Our capture shows the email verification route, but does not establish every possible delivery failure or recovery behavior.
2. Give the workspace its own step
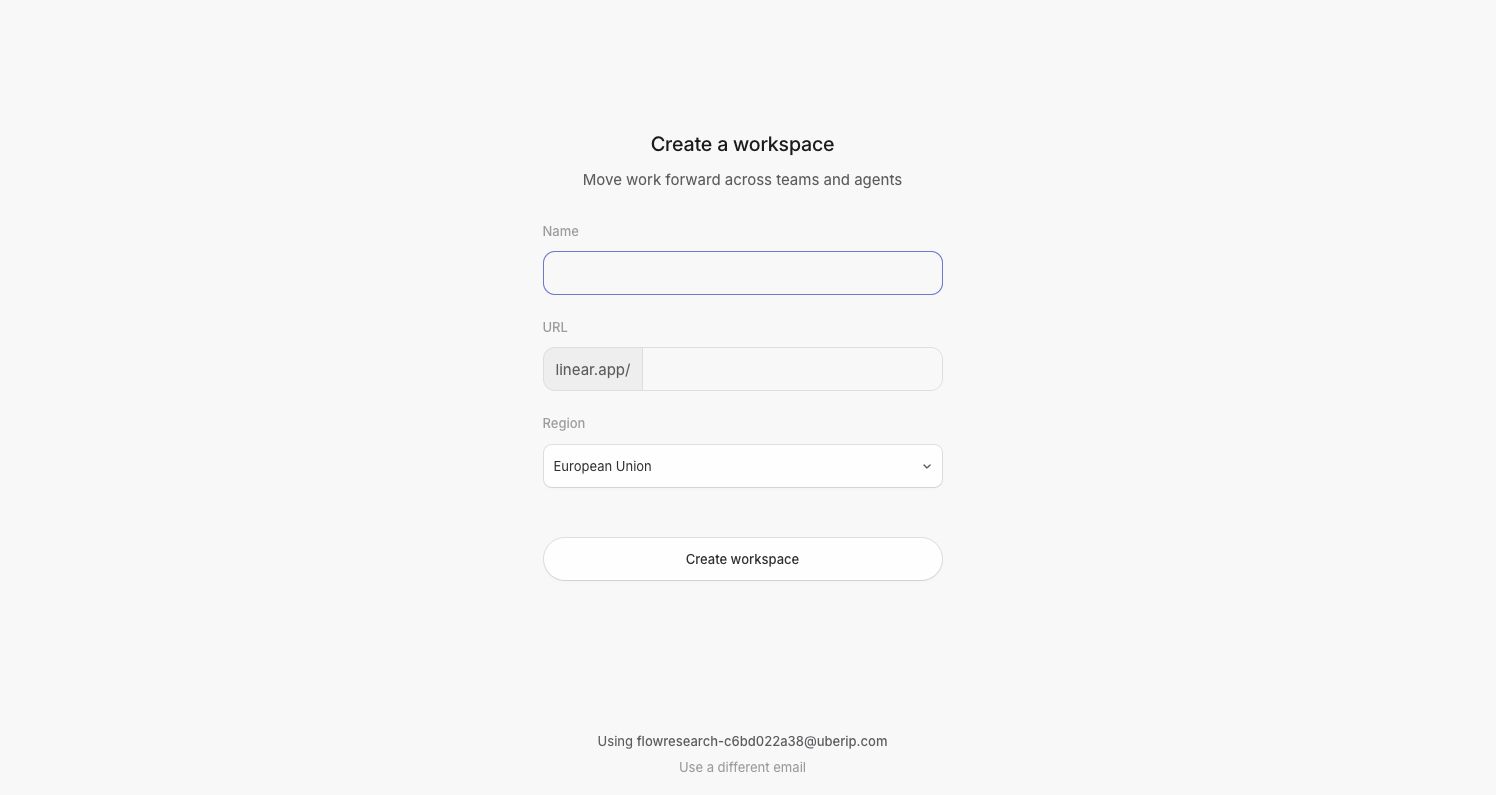
Creating a workspace and setting up a profile appear after verification in our capture. Separating those tasks makes the object being configured clearer: one screen establishes the shared environment; another represents the person using it.
For your own product, ask whether you really need a workspace at all. A personal tool may be better served by going straight to its first useful action. A collaboration tool needs to explain what the workspace contains and how someone can return to it later.
3. Treat invitations and integrations as distinct choices
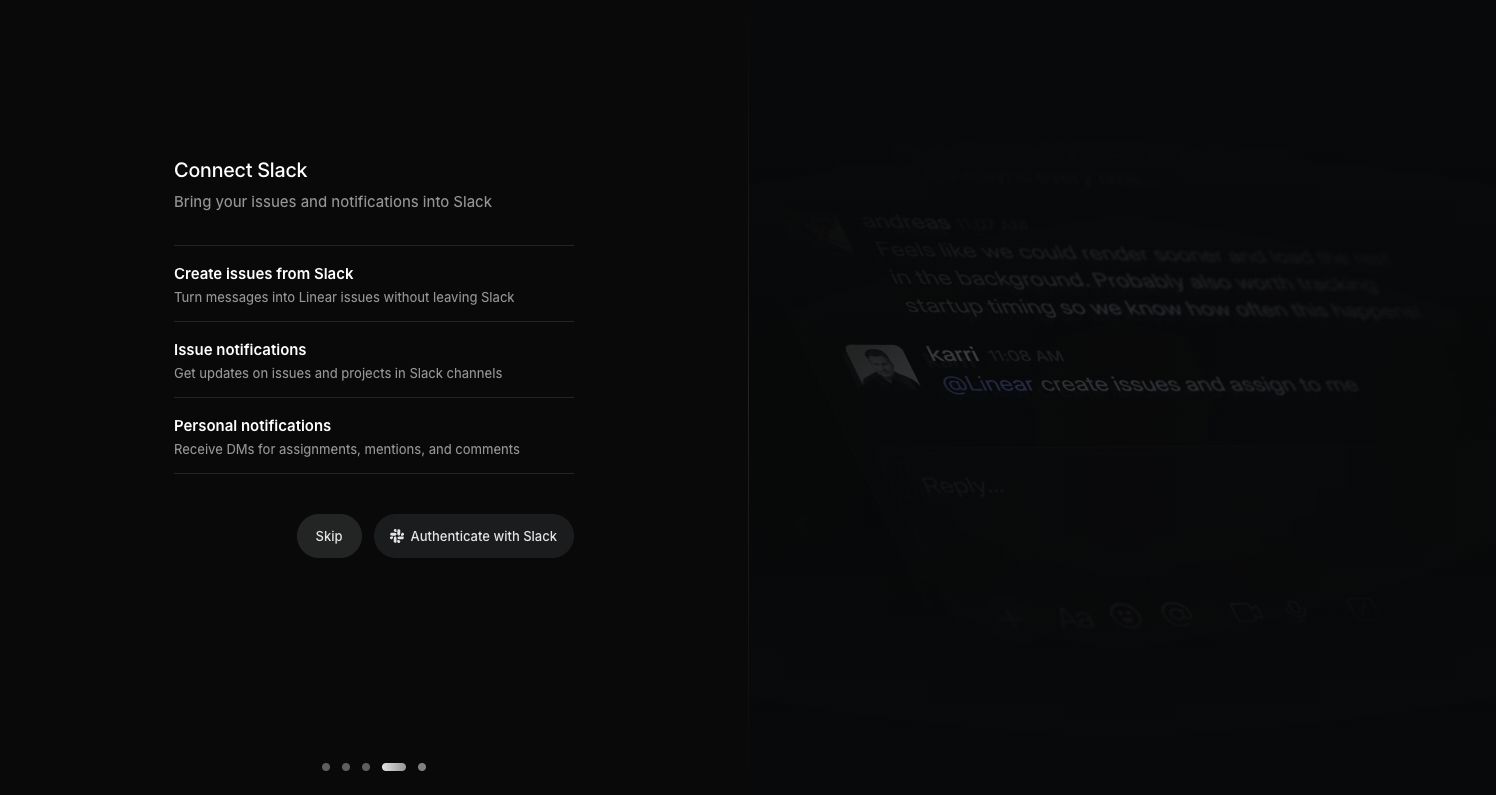
The sequence includes teammate invitations, GitHub, Slack and updates. These are separate screens rather than one long setup form. That creates room to explain each decision, but it also lengthens the journey. Our route skipped invitations and integrations and continued to the workspace.
That distinction matters in a reference brief. We observed the prompts and the skip path. We did not capture an invitation being accepted or an integration completing. An agent should not infer those outcomes from the presence of a button.
4. Connect onboarding to the product people will use
The final capture is a workspace issues view. It gives the sequence a concrete destination: the user can see the working environment instead of ending on an abstract “all done” screen. Browse the separate Linear product collection to study issues, projects, search and creation forms after onboarding.
What to borrow for your own flow
- Group steps by the decision being made: access, workspace, person and optional connections.
- Make external waiting states explicit, especially email verification.
- Explain optional setup where it appears instead of mixing it with required account details.
- Choose a first useful product screen as the destination.
What this capture cannot tell you
A captured sequence cannot establish conversion rates, user preferences or why Linear chose a particular design. It also does not establish mobile layouts, all validation rules or every alternate signup method. Use the screens as evidence of structure, then test whether that structure serves your own users.
For implementation, combine the onboarding reference with the independent design guide. Keep your own brand, copy and product requirements, and explicitly label any states you add beyond the capture.